Creating Your First Course
A step-by-step guide to building and publishing a course on LearnBuilder.
This guide walks you through creating a course from scratch — from the settings page to your first published lesson.
Step 1: Create a new course
- From your dashboard, click New Course
- Enter a course title
- Click Create
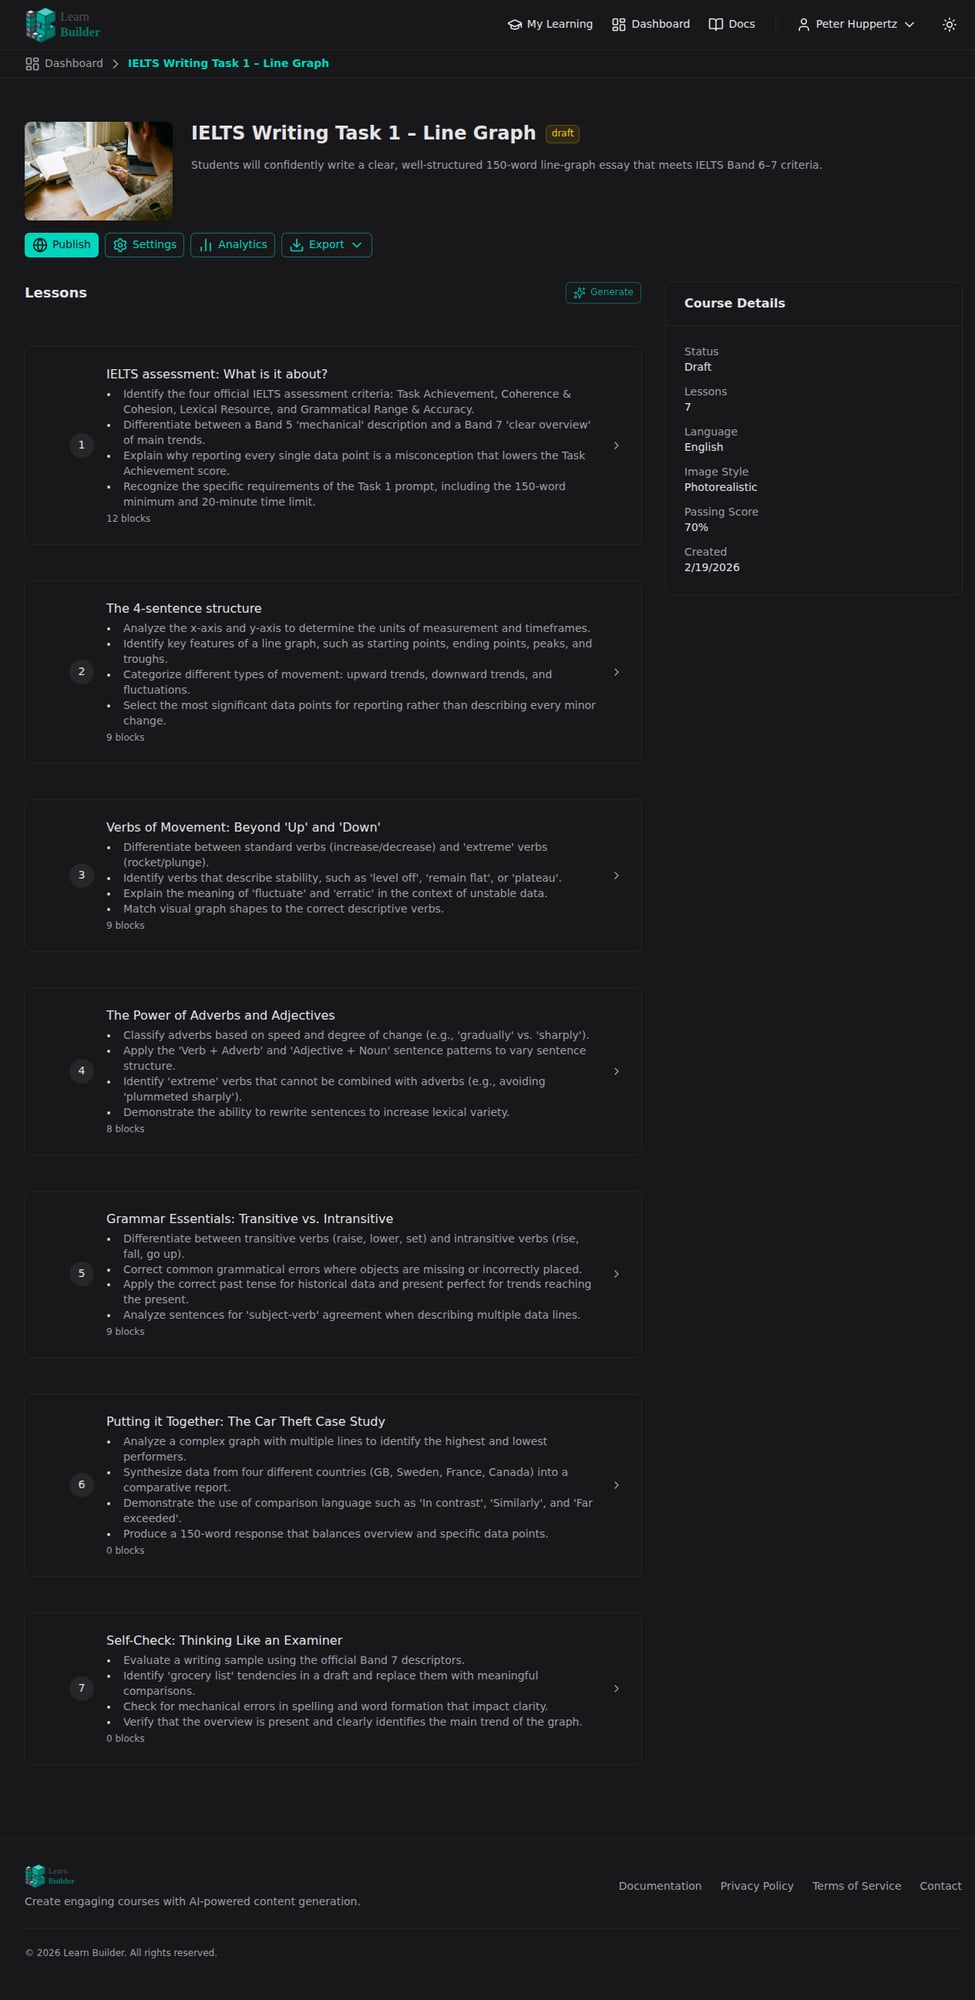
You'll land on the course page, which has four tabs: Lessons, Learners, Settings, and Analytics. The Lessons tab is open by default.

Step 2: Configure course settings
Course settings are organized into five sections: Basics, AI Content, Experience, Emails, and Pricing. Access settings by clicking the Settings tab on the course overview page. On wider screens a side navigation lets you jump directly to each section.
Basics
- Title — clear and descriptive
- URL Slug — the short identifier used in the course URL (auto-generated from the title; editable). The course link is
/learn/{yourAccountSlug}/{courseSlug} - Description — what learners will achieve
- Cover image — upload, pick from the media library, choose a Stock Photo (Freepik), or generate with AI
- Tags — help learners find your course
AI Content
- Target audience — who this course is for
- Learning objectives — what learners will be able to do
- Story / case study framing — optional narrative context
- Language — 14+ content languages supported
- Image style — photorealistic, illustration, flat design, and more
- Main character — name, photo, and description for visual consistency across AI-generated images
- Knowledge Files — reference documents the AI uses to generate content and answer learner questions
Experience
- AI Tutor — enable or disable the chat assistant for learners
- Sequential Progress — require learners to complete lessons in order
- Passing Score — minimum assessment score to pass the course
- Certificate — issue a certificate when learners finish
- Visibility / Enrollment — controls who can access and enroll in the course:
- Open — anyone with the link can enroll; optionally require a password to enroll
- Invitation Only — only learners you explicitly invite can access the course
Emails
Configure automated emails sent to learners:
- Enrollment Confirmation — sent when a learner enrolls; customizable subject and body
- Completion Notification — sent when a learner finishes the course
- Reminder Emails — sent N days after enrollment to nudge learners who haven't finished; add multiple reminders at different intervals
Email content supports template variables: {{course_title}}, {{learner_name}}, and (for reminders) {{days_since_start}}.
Pricing
- Toggle This is a paid course to require payment before enrollment
- Set a price and currency (EUR, USD, GBP, CHF, CAD, AUD)
- Requires a connected Stripe account — see Integrations
Tip: Use AI generation to draft a full course outline from your objectives — see AI Generation.
Step 3: Add lessons
- In the Lessons panel, click Add Lesson
- Give the lesson a title
- Click into the lesson to open the lesson editor
Step 4: Add content blocks
Inside a lesson, click Add Block to insert content. Block types include:
- Text, Video, Slideshow (for content delivery)
- Quiz, Flashcard, Drag & Drop (for practice and assessment)
- AI Dialogue, Hotspot Image, Process Flow (for interactive learning)
See Blocks Overview for the full list.
Step 5: Publish
When ready, click Publish on the course overview page.
Your course is now live. Share the course link or your learner portal URL with your audience.
Updating a published course
Once a course is published, any edits you make to lessons are saved as drafts — they don't go live immediately. When you're ready to push changes to learners:
- On the course page, click Publish Changes (N) (appears when there are pending drafts)
- Review the summary of what changed in each lesson
- Click Publish All Changes
To discard pending edits without publishing, click Discard Changes.